

Schedule Interface
The schedule interface is for creating or editing a publication schedule. This page includes the following topics.
Accessing the Schedule Interface
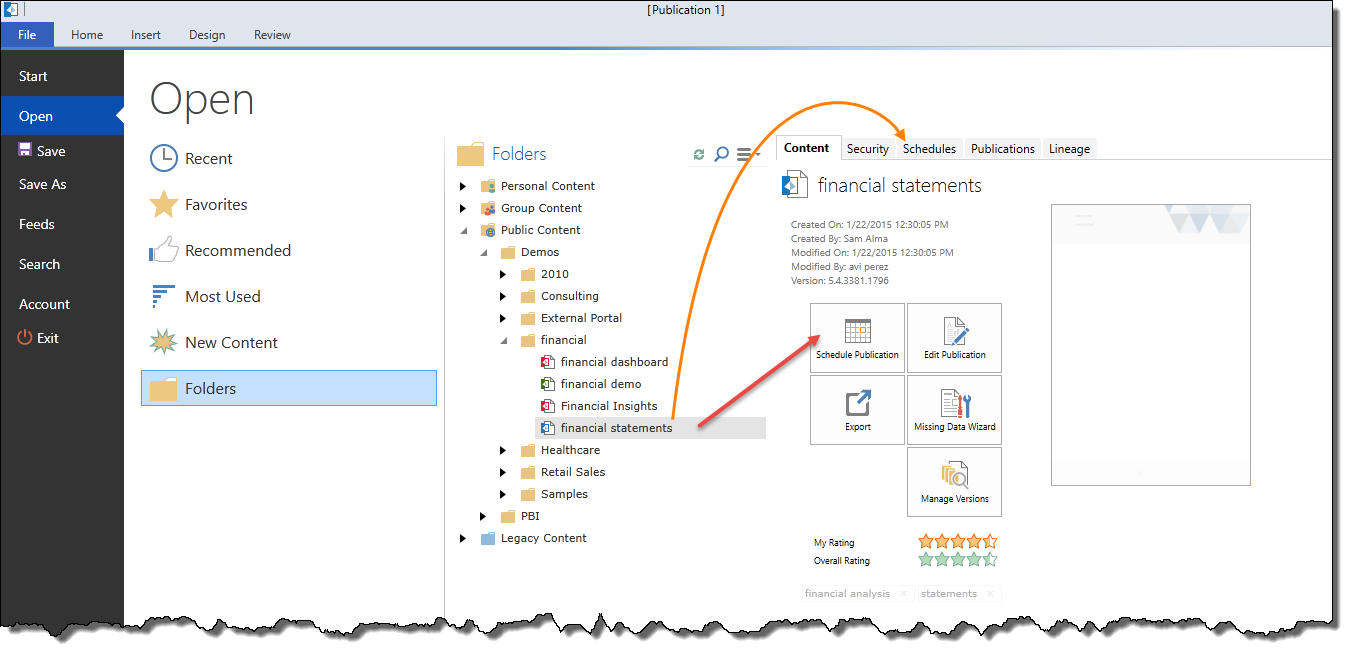
Through the backstage in the main client, you can find the Schedule Interface on the Open page.
Select a publication or alert template, then click the schedules button (red arrow) or schedules tab on the right (orange arrow below)
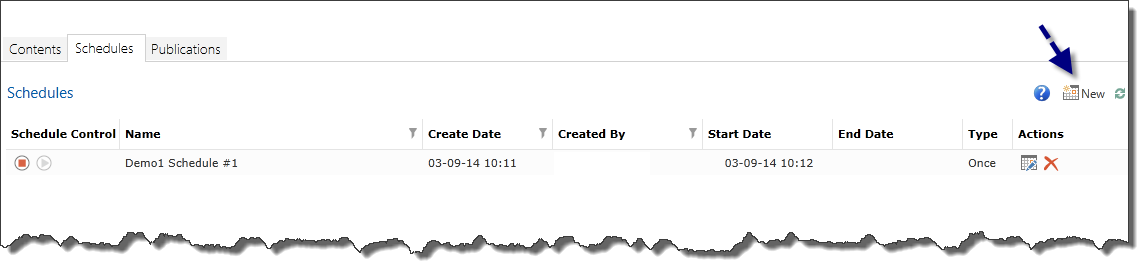
Click on the “New” icon to access the Schedule Interface (indicated by the blue arrow below).
Building a Schedule
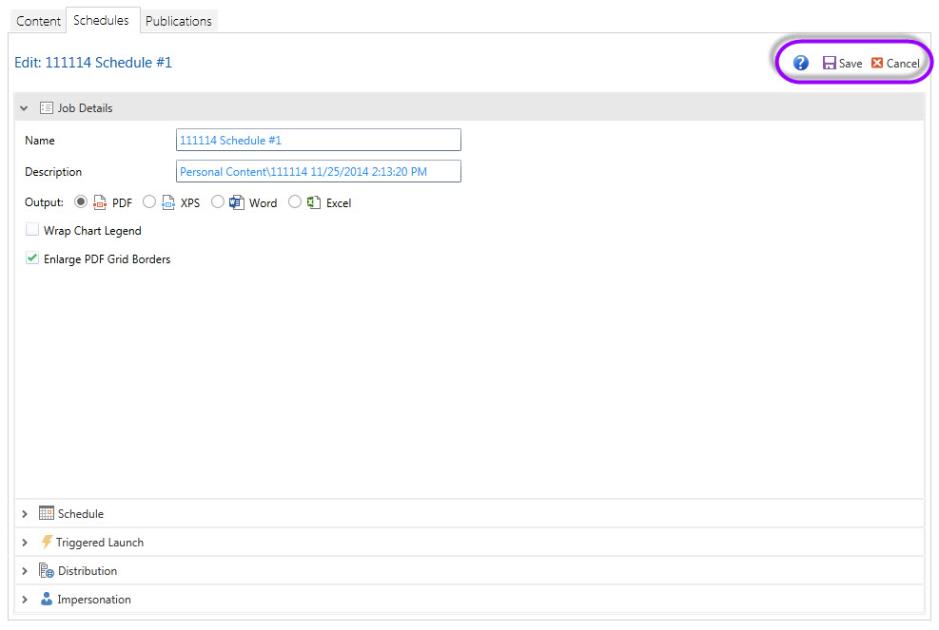
There is a quick menu on the right-hand side (outlined in purple):
- Help icon – this will take you into the Help Guide
- Save - this will save the scheduled item.
- Cancel – this will discard the current scheduled item.
NOTE: When you click the Save, it will launch the scheduled publication.
Main Workspace
There are six panels in an accordion-style format. Click on the arrows to expand or collapse each panel:
NOTE: Depending on the user and application license, not all sections will be displayed.
Job Details
This is metadata panel for the scheduled item.
Name – name the scheduled item.
Description – describe the scheduled item.
Output – choose the format for the scheduled item: PDF, XPS, Word, Excel and PowerPoint.
Wrap Chart Legend–select whether to wrap chart legend so you can see all the information in one screen.
Enlarge PDF Grid Borders– select whether to enlarge grid borders for PDF output.
NOTE: hyperlinks in documents are ignored when the output is a PDF.
Selections
This panel displays selections made in the Slicer Manager interface.
NOTE: The Selection section will only be displayed when you have slicers in the document template.
Basic Selections – takes the user’s selection for one variation of slice selections to be used in rendering the relevant output of the publication.
Click on the drop-down list of available slices in your publication to run.
Multiple Selections – takes the user’s selection for multiple variations of slice selections to be used in rendering the relevant output of the publication (see image below).
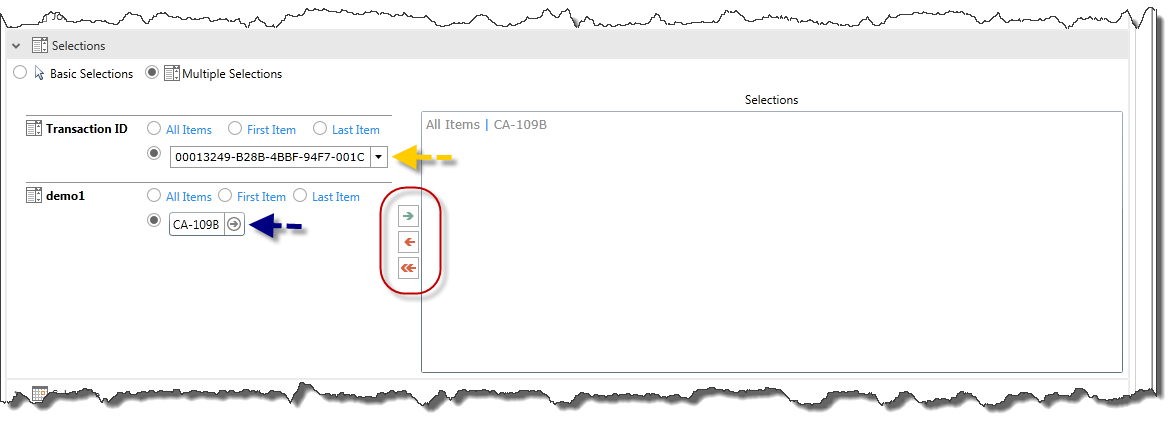
Choose from the available slice to select the slices for your publication to run. Depending on the slice type chosen in the Slicer Manager, you can either select elements from the drop-down slice (yellow arrow) or key in elements from the text box slice (blue arrow). There are a few icons to help you manage the selections:
- The green arrow adds a slice variation for publication.
- The red arrow removes a selected slice variation.
- The double red arrow removes all the selected slice variations.
There are also macro-selections available: All items, First Item, and Last Item.
NOTE: In these cases, the selections are pulled from the live data at runtime.
WARNING: Any changes to the original template’s Slicer Manager will result in causing the schedule item to be “Inactive”. You can reactivate the scheduled item by editing it.
NOTE: Basic Selections will only produce one publication per execution.
Schedule
This panel allows you to determine WHEN the publication should be run.
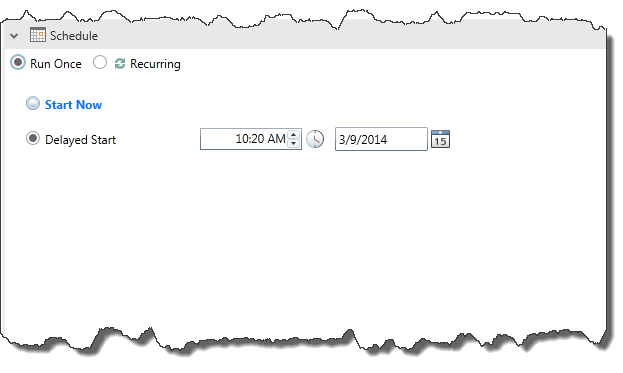
You can choose:
Run once – the publication will only be rendered once. You can launch the execution immediately or schedule a specific time and date.
Recurring – the publication will be rendered multiple times based on your selections. When you click on this item, a new interface will be displayed. You can choose to run the publication hourly, daily, weekly or monthly and specify the start data and time as well as the end date and time.
Triggered Launch
You can schedule an entire publication to run if a certain condition or a series of conditions are met. These conditions are determined by one or more “triggers”.
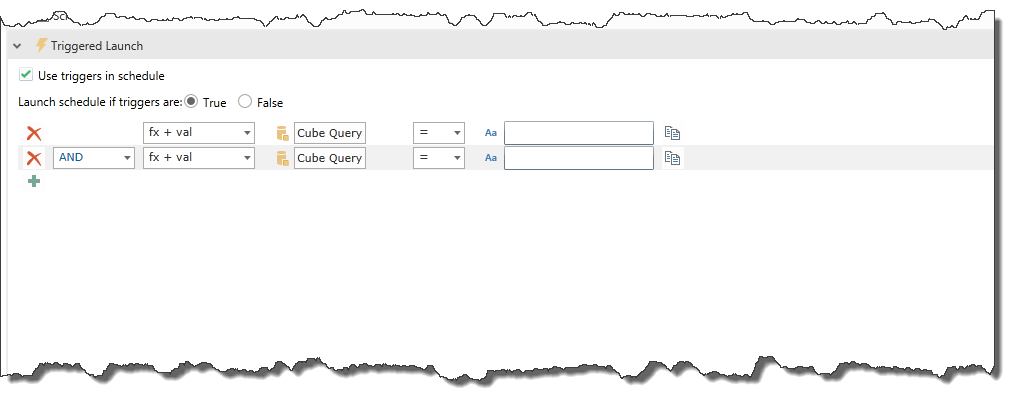
1. Check the box to include triggers for the schedule.
- You can determine the launch of the scheduled item to be either when the conditions are met or not met, by selecting True or False.
2. Delineate the condition’s formula by clicking on “Add Trigger” (green plus).
3. A section to enter in the formula will appear. Choose a formulation type combination from the drop-down menu. There are four kind of formulation types:
- Fx - Dynamically rendered values: When inserting a dynamically rendered value, the icon of a “Cube Query” will be displayed. When you click on the icon, it will take you into the Dynamic Text Wizard. Click here for further information on how to create Dynamic Text.
- Val – Value: You can inject a static value which can be either numeric or textual
- Ext. Val – External Value: You can inject a specified piece of external data.
NOTE: This is a complex feature. Click here for further information.
- Refresh– You can choose to have a publication run when a specified cube is updated.
4. You can define the formula with an operator.
There are two types of operators:
- Numeric – e.g equals, greater than, less than, not equal etc.
- Textual – e.g. starts with, contains, does not contain, is, is not, etc.
Creating a Multiple Trigger Condition
- The plus icon at the beginning of the formula allows you to add another trigger condition.
- The copy icon at the end of the formula allows you to copy the current condition and add another trigger condition.
When you have multiple trigger conditions, you will be prompted for the logical operator that will be used to determine the result of the condition.
- Choose the “And” or “Or”.
You can click the X icon at the left corner of the formula to delete the trigger.
Distribution
The distribution panel controls how the rendered publications will be delivered to recipients. There are two panels. In the left-hand panel you can select the location for delivery, and the right-hand panel provides the specific details of the delivery.
- Portal
- API
- Email (link or attachment)
NOTE: The Distribution options available are dependent on the application license.
Portal
If you click on Portal, you will see three sections (depending on user license):
1.Content Access - you can check off the box for:
- Feeds to the portal
- API programmatic Access
2.Content Security - you can check the box of Data Security and a small drop-down list will appear where you can delineate by which slice from the publication the security data will be derived. Click here for further information.
3. Roles Security - you can further delineate who can view the publication based on their security roles. Click here for further information.
API
If you click on API within the Portal tab, the content can be enumerated and listed using the web service API’s for publication into other 3rd party components and tools.
If you click on Email, you will see three sections:
1.Email Address Source - you can choose to send emails from:
- The value of a property that is pulled from the data model for the current slice selection for the publication. Once you choose the slice, you need to delineate that property whose value will be used to determine the email list.
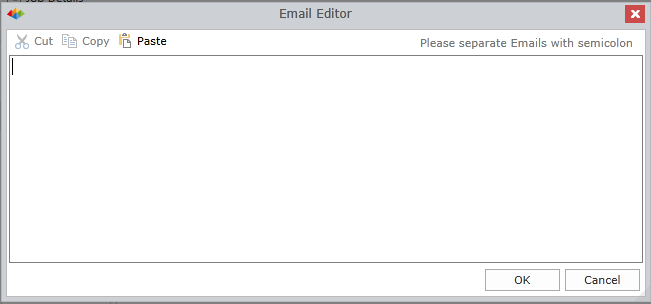
- A static list that you have created in the Email Editor. When you click on the ellipse button, a small pop-up window will appear where you can add email addresses.
-
2.Content Delivery – you can choose how the publication will be distributed to recipients with a link (back to the portal) or as an attached document.
3.Email Template – this is where you can write and edit the email subject and message that will accompany the publication. There are a list of shortcut keys to the right of the template that will insert general information easier into the email template:
| Shortcut Legend | |
|---|---|
|
[P] |
Publication name |
| [S] |
Schedule name |
| [C] |
Create Date |
|
[M] |
Slice Members |
| [L] |
Content Link (*only displayed when “Link to Content” is selected) |
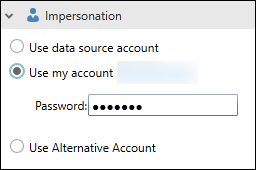
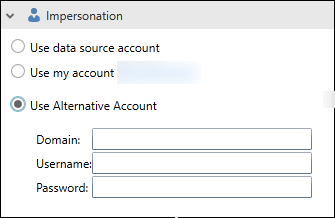
Impersonation
For delivering the publication, you can determine under whose credentials the publication will be run.
Use Data Source Account
Runs the publication using the "Datasource User" currently defined in the administrative console.
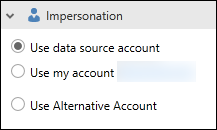
Use My Account (default)
Runs the publication using your own credentials.
- If your installation uses Windows Authentication, you will need to supply your password.
- If you are using token-based access, no password is required.
Use Alternative Account
Runs the publication using a specific set of credentials, including:
- Domain
- Username
- Password
Home |
Table of Contents |
Index |
User Community
Pyramid Analytics © 2011-2022